Editor choice
Review: Flyingbear Ghost 4S 3D Printer , it deserves your attention
5
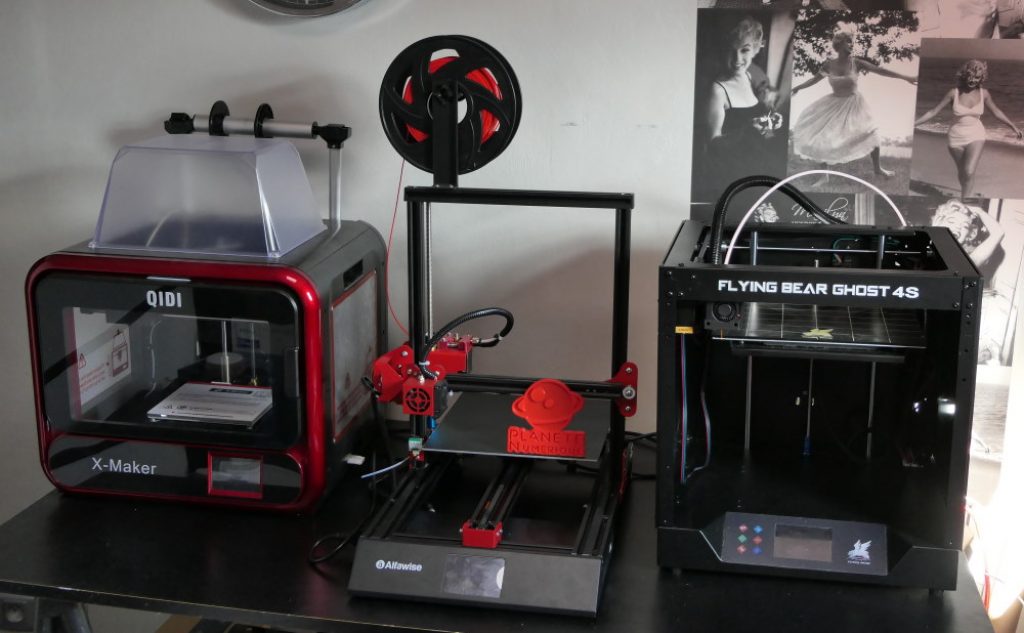
In my quest to find you a high-performance and affordable 3D printer, I was interested and ordered for review the latest Flying Bear 4S, an all-metal, fixed platform model with great performance on paper as well as a Wifi circuit to send your files on it with no effort.My story with the Flying Bear 4S begins with a misunderstanding. I thought I saw the pictures that it would be delivered all assembled like my Qidi Tech X-Maker.
| Characteristics | Value |
|---|---|
| Frame Type | Full/Alluminium |
| Printer size | 392*342*420mm |
| Bed size | 275*210*210mm |
| Print size | 255*210*210mm |
| Layer thickness precision | 0.05-0.3 |
| MAX printing speed | 150 mm/s |
| Extruder number | 1 |
| Nozzle diameter | 0.4mm |
| Material specifications | 1.75mm in diameter |
| Material type | PLA, ABS, TPU,Wood, HIPS . |
| Positioning accuracy | Z 0.002mm, XY 0.01mm. |
| Recommended extruder temperature | 220degC (the max 260degC). |
| Hot bed temperature | 60-110degC . |
| Power requirements | 24V, 300W |
| Connectivity | WiFi,SD card,USB |
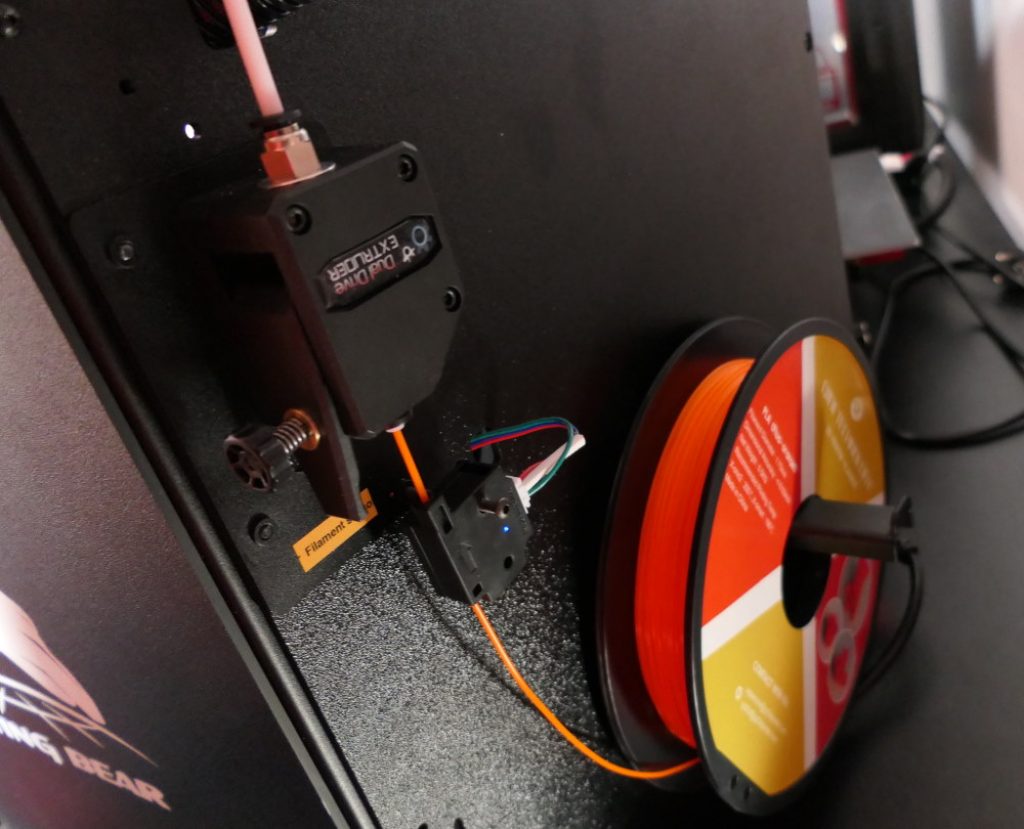
| End filament detection | YES |
| Power failure restart | YES |
| Screen | 3.5 inch touchscreen |
| Firmware type | Marlin |
| Sofware provided | CURA |
Youtube is your friend
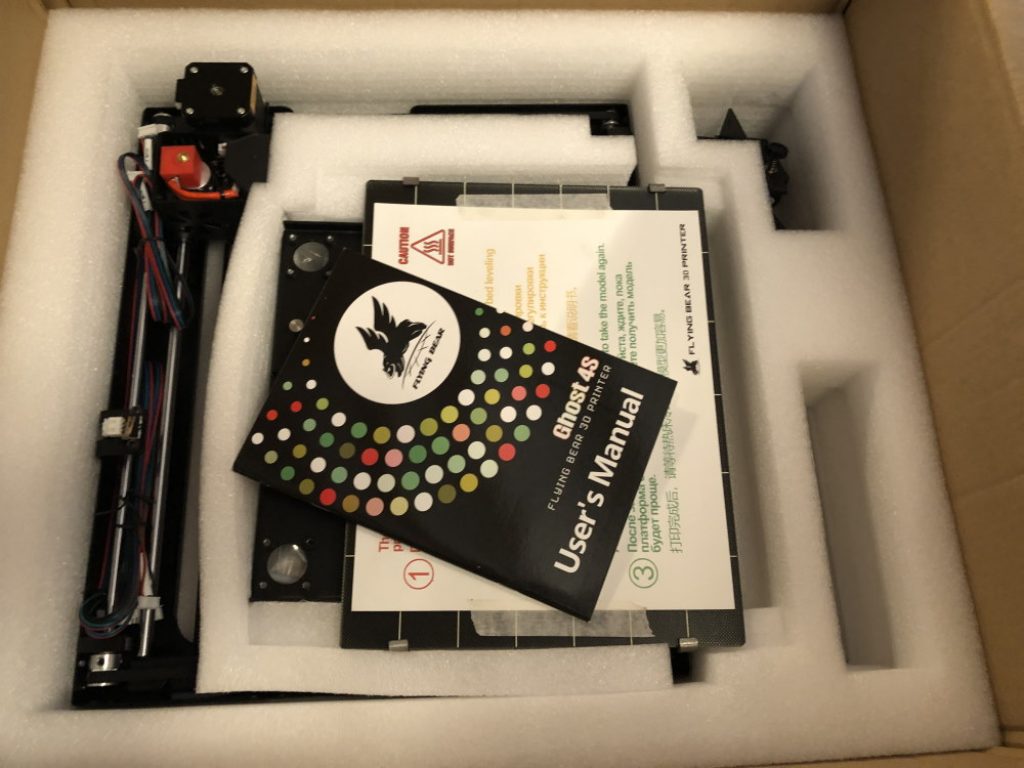
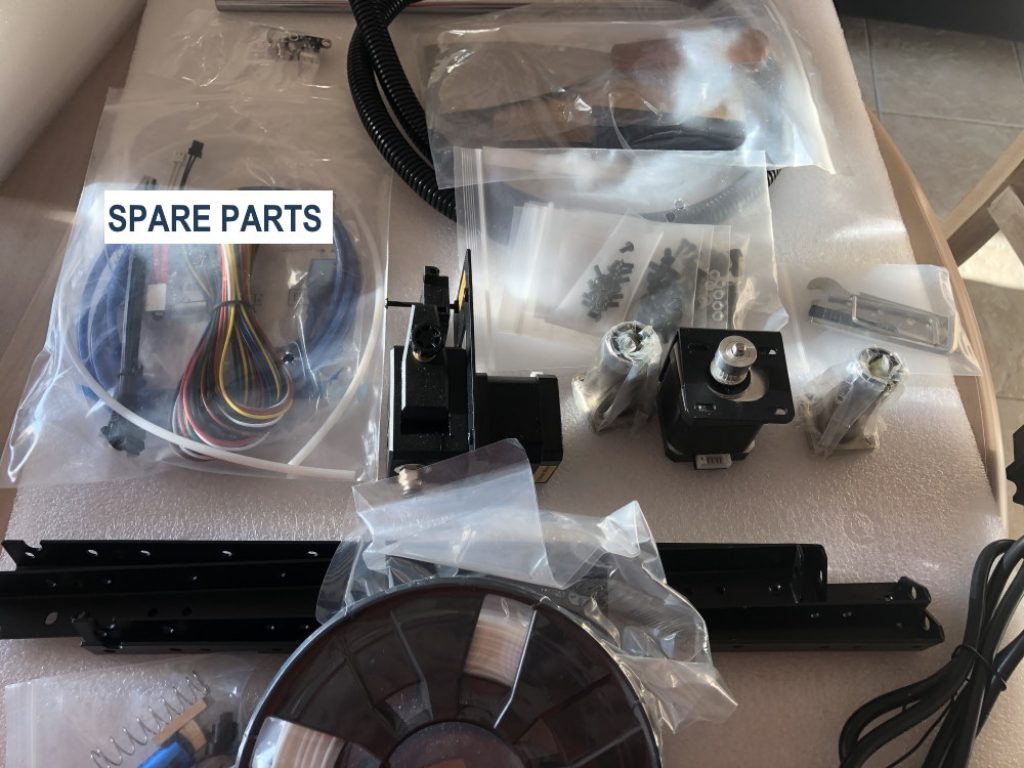
The Flying Bear 4S is therefore a model to be assembled for its upper part. Don’t look in the manual for the assembly steps! The manufacturer has decided to give preference to a video assembly tutorial on its Official Flying Bear YOUTUBE channel. The editing itself is split into nine videos. Then there are more tutorials for the levelling of the platform.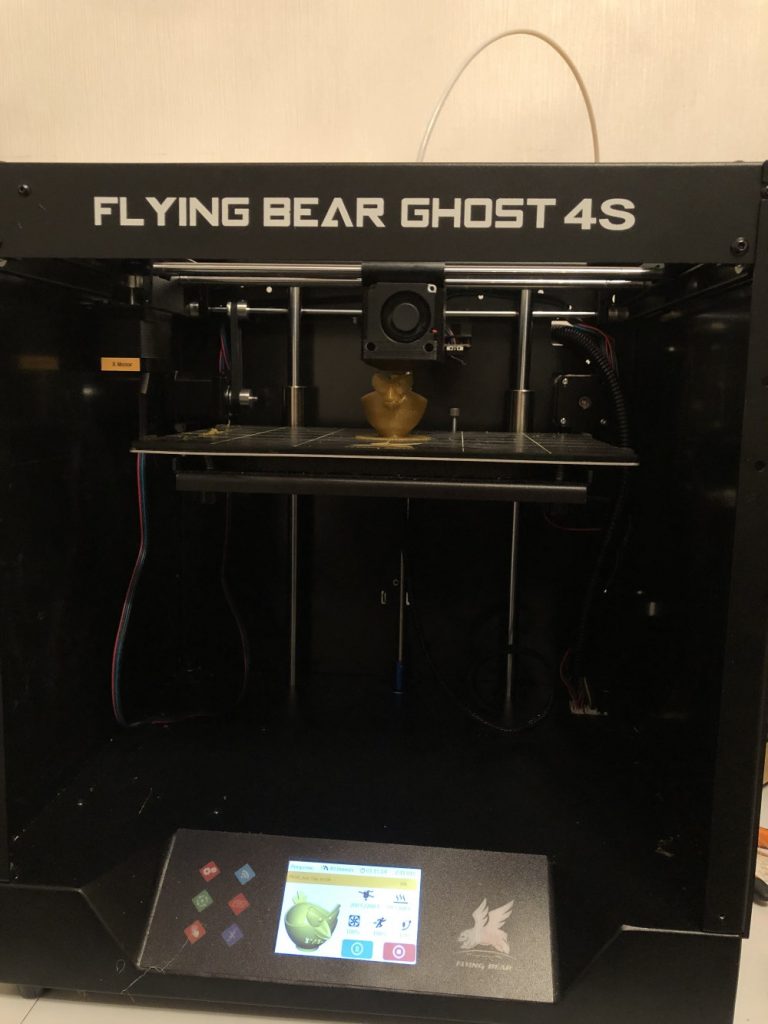
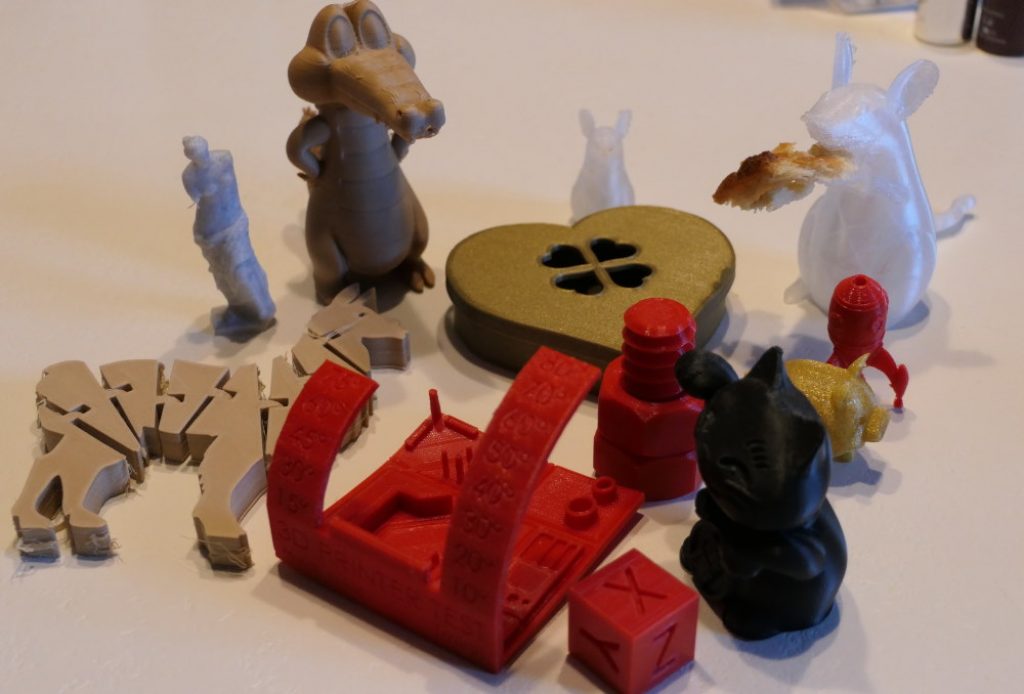
A high level performance
The FlyingBear Ghost 4S 3D printer is housed in an all-metal, semi-shell case. The front and top remain open. The FlyingBear Ghost 4S is relatively well isolated from the outside, making it possible to print small ABS filament items with the FlyingBear Ghost 4S. The ABS filament requires better air regulation.
A “sensitive” levelling
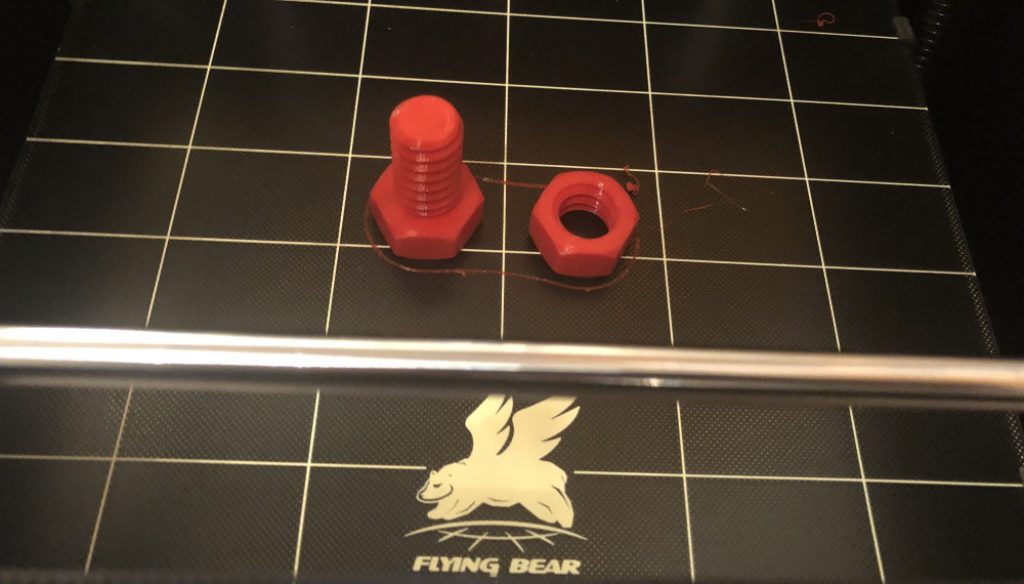
It is usual to have to level its platform and this is usually done manually via 4 adjustable screws with the help of the printer moving to each corner. This is the case on the Flying Bear 4S. But first you need to adjust a main platform stop on the Z axis thru a screw. I had to experiment to find the right height. From that moment on, my printout were almost all successful. Speed is recommended around 60 mm/s.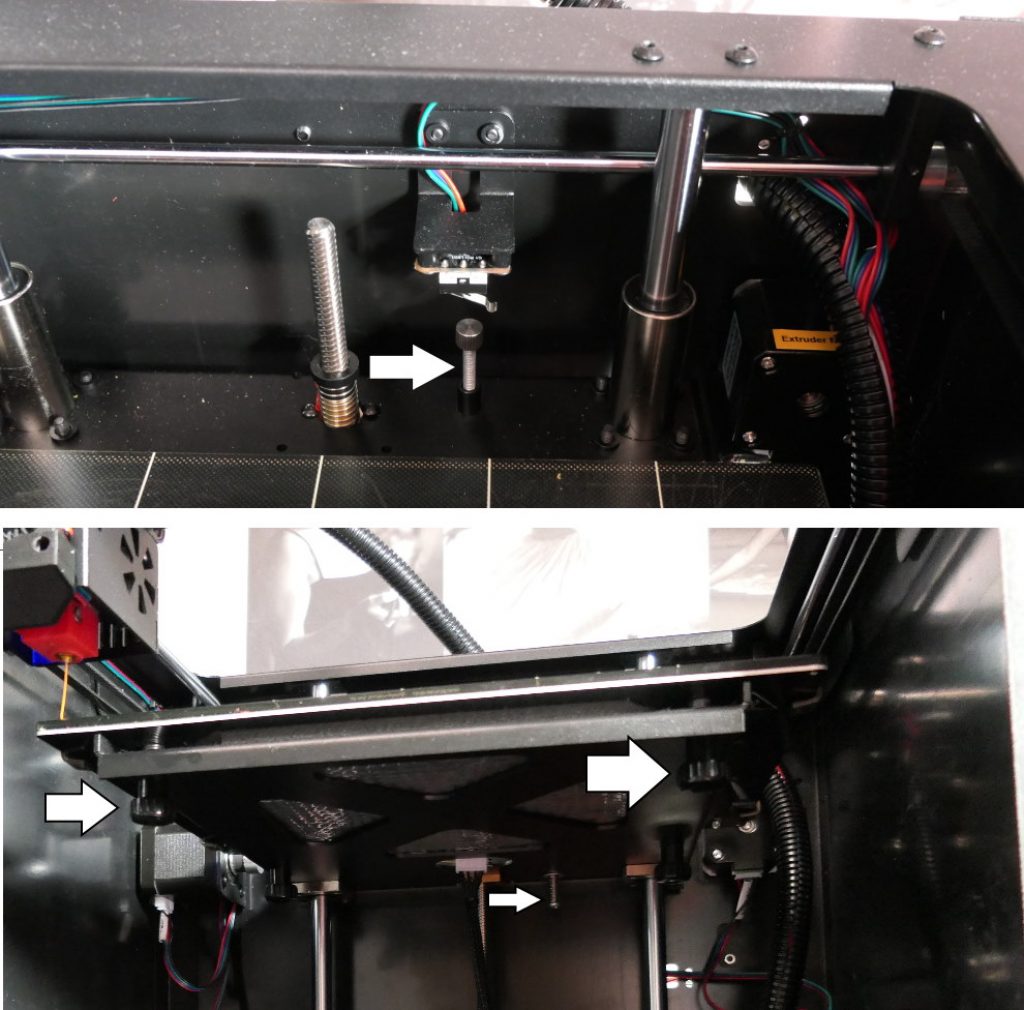
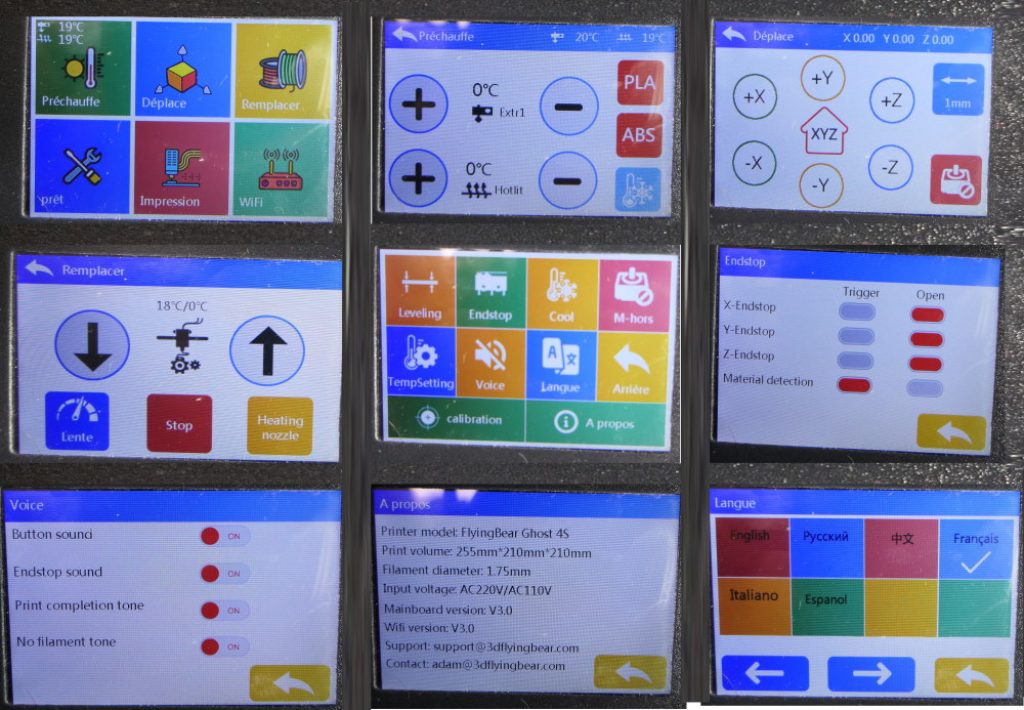
A nice touchscreen
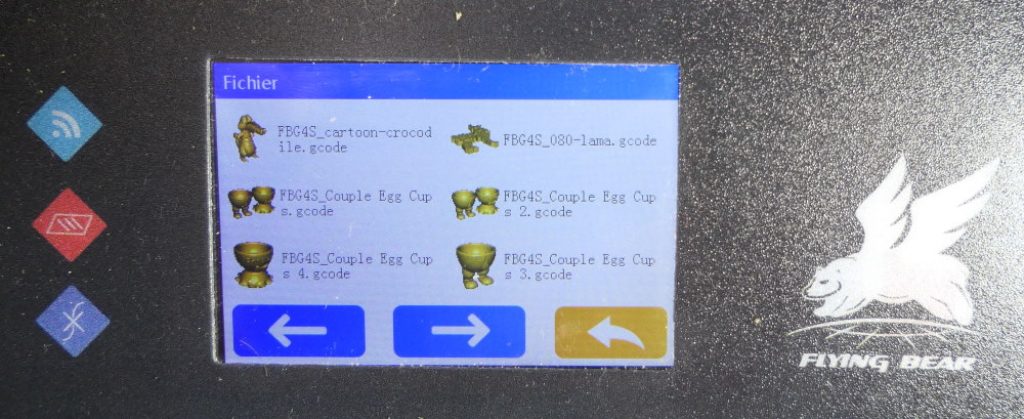
A good-sized 3.5-inch color screen is located on the front of the printer. It is touchscreen with a rich interface with many features such as a visualisation of the 3D Model to print.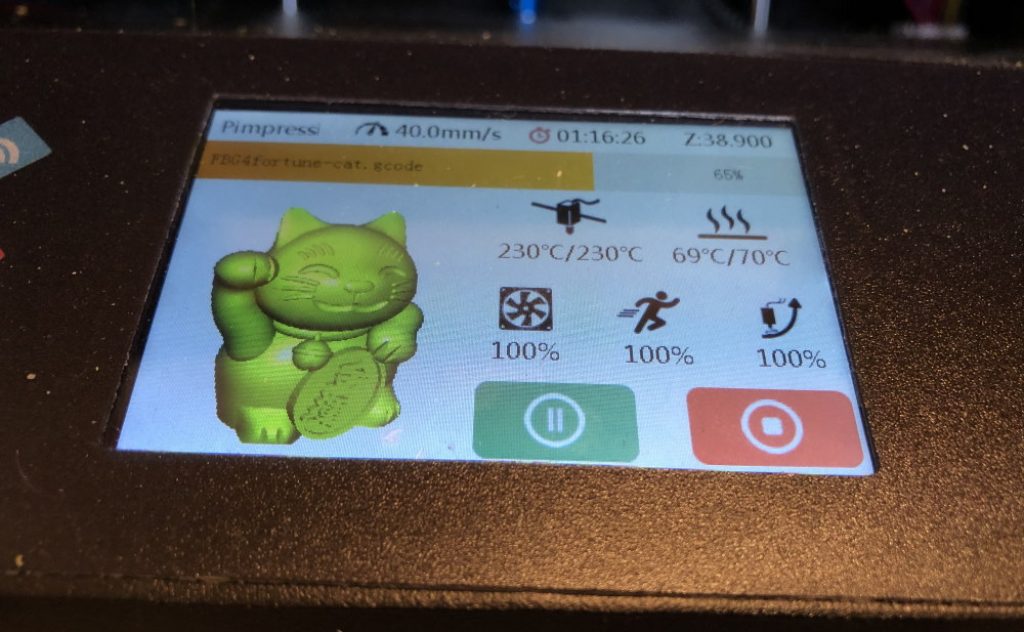
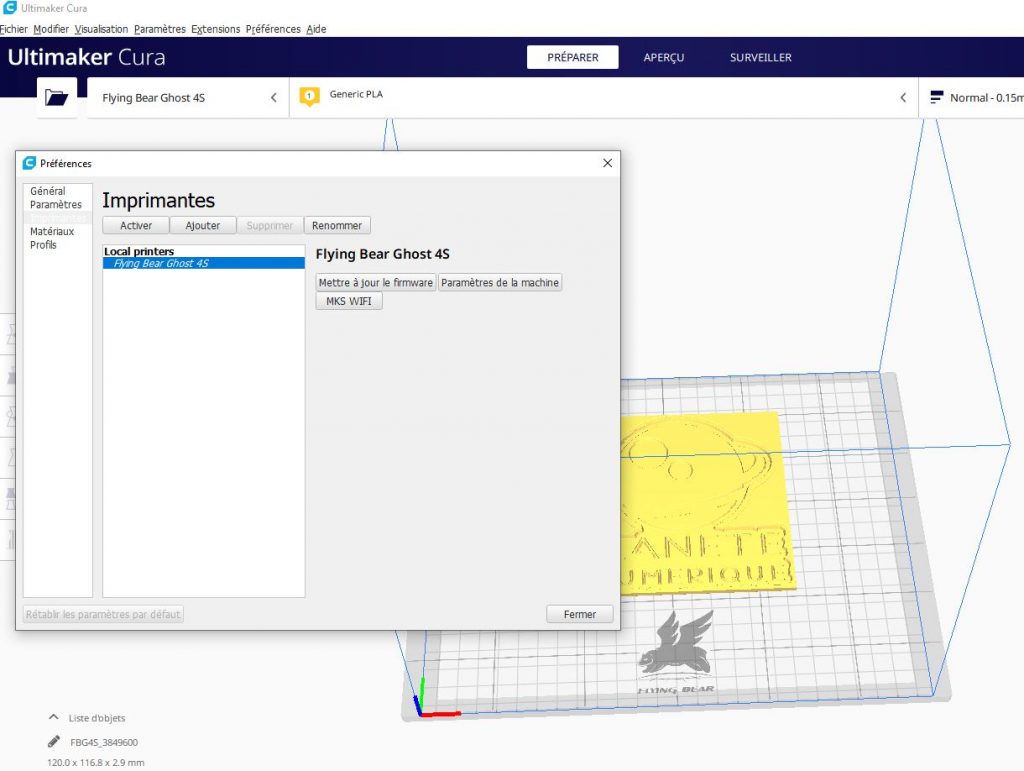
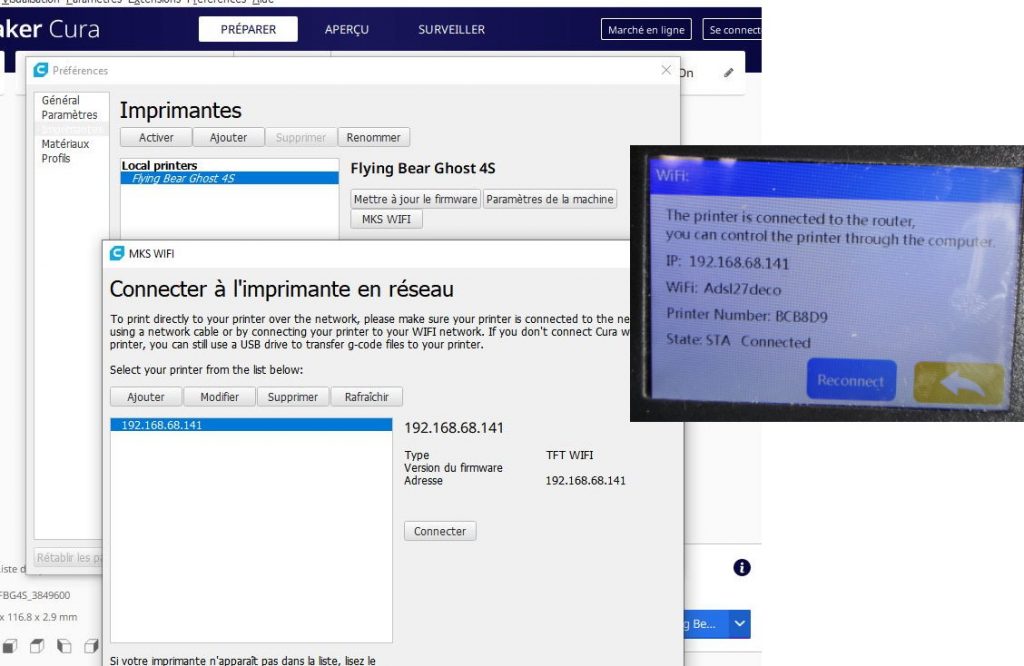
A community to help out
In terms of software (Slicer), I was used to get one on the memory card. This is not the case here. On the documentation, Flying Bear requires you to download the classic CURA in its latest version 4.4 directly on the website (here). Flying Bear explain on the prinout manual how to donwload and configure the CURA software manually. This even include the Start and End G-CODE commands ! Providing small config files online or on the microSD card would have been more than welcome. The Wifi configurationrequires the download of a FlyingBearIntegration Plugin. The link is put on the manual as a QRCODE. Not easy to read without a smartphone. The file is here. Again, all this is also explained on the YOUTUBE Flying Bear channel. But I found much faster! The FLYING BEAR brand has a community in Russia with the Alexgyver reference page. Use Google translate to understand. You will see a link to a script in GITHUB to update CURA with all needed parameters for your Flying Bear 4S.